What is Orgonite and how to make it
The What:
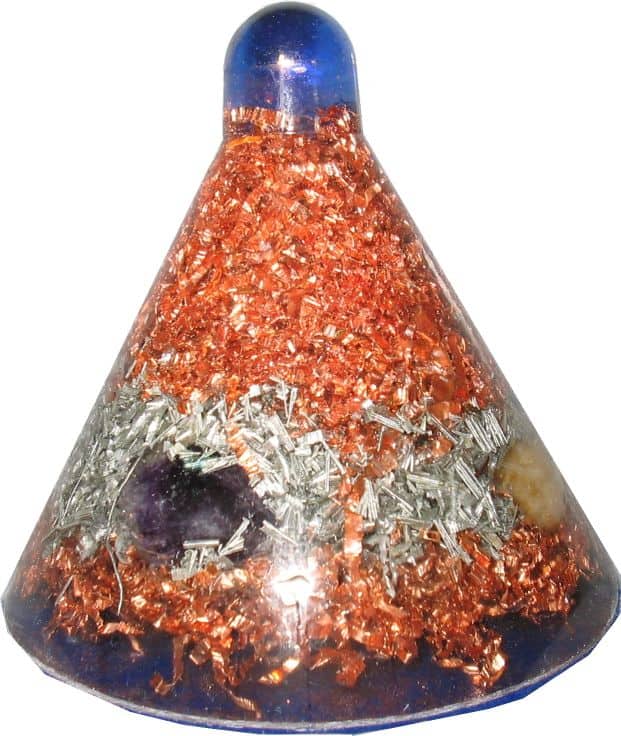
Orgonite® is a word that was invented by Karl Hans Welz for a material he made as a variation on the technology of Wilhelm Reich. He owns the trade mark for the word orgonite® which we use for educational purposes only.
Reich identified an energy which he called orgone and discovered it could be manipulated using layers of metal and organic material. He used things like wood and cotton for his organic materials and iron sheets and other metals as the metallic components.
Welz’s orgonite simply brought a modern material into play acting as the organic component polyester resin. Orgonite® is simply a combination of many metal particles suspended in a resin matrix. Because there are often many metal particles the energy flow within orgonite tends to be very dynamic making it pretty powerful stuff.
Orgonite was taken to the next level by Don Croft who added crystals to help convert DOR or Dead(ly) ORgone into POR or Positive Orgone – correction Karl Welz told me that he was using crystals as well so we will give him the credit!
The Why:
How much you understand the why of orgonite will depend on how much you are up to date with the front wave of scientific thought about the very nature of life as we know it. Finally, science has caught up with the wisdom of the shamans and have concluded that everything that we perceive as solid is actually vibrating energy. If you understand this you will understand that we can be negatively affected by energy that is disharmonious with life (DOR) in the same way as a staggering drunk would affect the flow of a busy New York sidewalk – particularly if he was walking the other way!
If you extend this analogy further and visualize your life and well-being as a series of busy sidewalks then the modern world, its technology, and inhabitants are like a series of bars spewing staggering drunks into your path 24/7.
In this picture, orgonite® is the stuff that instantly sobers up these characters, turns them around behind you and gets them gently pushing you in the way you want to go! It is that profound and that useful at helping with energy healing and protection.
Make up your own mind about the intent and purpose of cell phone towers, but I will say that these towers generate a lot of disturbed energy (DOR) which is detrimental to our physical and mental well-being. The good news is that enlightened people are making simple orgonite® devices called tower busters’ to disable these towers and even turn them into positive energy generators (POR). Stay on the page to be shown how to make these yourself and energetically clean up your own neighborhood for everybody’s benefit.
‘Just click below to enter your email’. Then change the following ‘Insider offers, draws, and news’ to ‘Sign up here’
How to make Orgonite
Watch the video and then read below for more clarification/tips.
Orgonite video transcript:
Hello and welcome to our video that’s going to show you how to make some orgone devices also known as orgonite.
This is what we’re going to be making today and this is what we started our business making. We call it the negator or negative eradicator (but it is publically known as a “Holy Hand Grenade”).
If you’ve got cell phone towers near you this is one option that we don’t recommend (explosives) This is another option that we don’t particularly recommend (protests). But we have a solution – they are called tower busters and we’re going to show you how to make those today as well.
Now we’re just going to show you how to prepare. It is a good idea to protect your table if you got a nice table you want to put some old wallpaper or newspaper down you certainly want some paper towels ready for spills. You also might want some nail polish remover containing acetone or if you can buy acetone from your hardware shop get a little tin of that that’s good for mopping up spills.
You want to protect yourself as well put on some gloves as you’re certainly gonna get some resin on your hands otherwise you might want to put some glasses on you certainly will want some kind of mask if you’re working indoors. You see I’m working outdoors with plenty of ventilation where you should be okay.
You’re gonna need some resin – clear casting resin is available from a lot of craft shops you can get it off the internet you’re gonna need a jug to put it in you’re gonna need some activator this should come come with the resin. This is a commercial measuring device but you can also use a medicine cup .
Chopsticks work great to stir it with you will need a funnel there are all kinds of funnels available in the hardware shop this is one we’re using you also need marble and it needs to be the right size so you can jamming in the neck tight. You will need some kind of spray lubricant – can be silicone or oil you will need some metal shavings go to your local machine shop we got some copper and we’ve got some aluminum which we’re going to use for our devices today.
You will need a crystal, you will need a quartz terminated crystal which means it comes to a point. You might want to add some of your other favorite crystals which is optional.
Okay first thing you do is take some of your spray lubricant and put it into your funnel I’m using a paper towel just to make sure it’s nicely spread around and nicely coated. I forgot to tell you need a jar – you know an old mayonnaise jar or something that’s great too to hold the funnel put your marble in the neck there and jam it in you can play around with different lengths now you’re gonna put your crystal in it needs to go point down push it in hard so that the point is facing down towards the marble it’ll be pointing upwards now I’m putting the optional additional crystals in.
And now it’s time to put some resin so gauge how much resin you need and then follow the instructions on how much activator to use tend to use a little bit more when it’s cooler a little bit less when it’s hotter. Your instructions might tell you that. Now give it a really good mix with your chopsticks obviously any bit of wood will do. don’t eat your Chinese meal with them afterward! A really good mix and then start to pour it in now you’re gonna have to do this slowly because it takes a while for the resin to permeate down to the bottom through the layers of metal so be a little bit patient with this okay.
It’s good idea to give it a push down with your chopstick no more use you mash you down like that the less chances you’re gonna get air bubbles in the finished result and then start adding some more. Fill it up so it just nearly reaches the rim and then put it on one side and leave it to set.
Tower Busters
Next we’re gonna make some of those Tower Busters. We get our muffin tin we get some rough quartz crystals they don’t need to be expensive ones, even tumbled ones work quite well keep your tin a little bit of a spray with your lubricant and then start adding your metal.
you can also pick up metal from scrap merchants if you have one nearby it’s where we’ve gotten a lot of ours from. Put your crystals in the middle and then it’s time to start adding the resin I’ve estimated I’ve got enough resin left to make about three but you can make a whole trayful at a time that’s a little bit more time-efficient again you’re gonna have to start adding your resin slowly as if you put it all in too quickly it just overflows and you make a bit of a mess.
Leave to set about 24 hours and you can start looking at your masterpieces. They tap out fairly quickly. This is our Holy Hand Grenade modified or “Negator”.
Give your muffin tip tin a bash and you’ve got some Tower Busters. Now do yourself and your neighbors a great big favor put these in the bushes near to the cell phone towers then littering our neighborhoods and this will give you some good protection.
Now if you want some more detailed written instructions and some extra tips please keep reading, otherwise thanks for watching.
Whatever orgonite® device you are making you will need the following ingredients:
 Polyester resin.
This can be bought at some craft and hardware shops. It is used to make those paperweights that you see with bugs, flowers, and other pretty things embedded in them. It is not that expensive but it is good to shop around. Do a Google search on ‘casting resin’ to find online options and add your location for local suppliers.
Read the instructions carefully. Prepare for spills. Never add the resin to the activator – always add the activator to the resin (it can explode otherwise).
Metal shavings.
These can be pretty much any metal that is a waste product of turning or machining. Your local machine shops are a good source – offer to sweep some up for them and you will probably get them for free. When they sweep them up themselves they will often sell them to local scrap merchants. More often than not the scrap merchants will be happy to sell you this by the pound. As you won’t need that much this shouldn’t be too expensive (unless you want gold or platinum!)
Crystals:
I almost always use a clear quartz crystal in all the devices I make. It is the all singing, all dancing crystal that is ideal for the kind of work you will be putting it to. For the tower busters you can use any rough pieces without terminations (points). If you are making something for yourself (holy hand grenade [modified] or Negater) then you will want to use a decent quality terminated crystal. You might also want to add other crystals for their particular beneficial properties. These properties will be enhanced when they are in or near the orgonite.
Crystals are readily available at your local new age / crystal / novelty suppliers or search an abundance of online suppliers (Ebay is good). If you get hooked on these wonderful creations of nature (like we have) don’t blame me for any subsequent dents in your pocket-book!
Molds:
If you are making the ‘holy hand grenades’ (modified) you will need a plastic funnel. This can be any size or shape that you can find. Size does matter in these basic devices so the more powerful energy-wise you want it the bigger the funnel you will be looking for. You will also need a glass marble that fits tight in the neck of the funnel. Bear in mind that if it fits nearer to the tip of the funnel neck then the resulting shape will have a long ‘neck’ to it and visa-versa.
If you are making ‘tower busters’ you will need a non-stick muffin tin. I don’t recommend using it to make muffins afterwards!
Safety / Other:
The very least protection you should have is some disposable rubber / latex gloves.
Protective goggles are a good idea (sunglasses work fine). The activator is not something you want to get in your eyes – neither is the resin, come to that If you plan to work inside then you should think about a mask. The type that is used to block paint fumes is what you need. Even if you are working outside, if you decide to become an orgonite warrior and make lots of devices, then this is a sound investment for your health as the fumes are not nice.
Acetone, which is an ingredient of many (but not all) nail polish removers, is useful to clean up any spills. It can be bought by the can if you are serious about making lots of orgonite.
You will need something to measure your activator and your resin- a medicine cup works well for the activator and a cheap kitchen jug for the resin -or visit your local plastics store for other options.
Spray on oil is great as a release agent. If you use spray cooking oil or workshop lubricant – these are fine.
A table / bench protected with paper is a must.
Paper towels on stand-by.
A jar is great to hold the funnel.
Chop sticks (or any sticks) are great to mix the resin.
Making Orgonite Devices:
The video is pretty clear on what to do but here is a brief run down as a recap.
- Set up and prepare your ingredients and protective/ safety equipment. Put on gloves, goggles, & mask as appropriate.
- Work out how much resin you are going to need. The best way, if you are making both devices, is to get set up to make them at the same session and over-estimate slightly. This way when your funnel is full you can make as many tower busters as the extra resin will allow.
- Spray your molds with a light coating of oil. Wipe with a paper towel to disperse evenly (if needed).
- If you are making a holy hand grenade push your marble into the neck of the funnel. Try not to get any oil on the marble because you want it to stick to the resin.
Holy Hand Grenade
- Layer up your metal(s) and push the crystal into the center with the point facing towards the marble. If you are adding additional crystals it is good to put them around the edge half way up where their beauty can be seen. Top up with more metal until you reach the desired level.
- Measure the resin into the jug and then the required activator (as per instructors) into the medicine cup (or similar). Add the activator carefully and then mix with your chopsticks thoroughly – at least a minute.
- Pour the resin slowly into the funnel in stages allowing it to run down through the layers of metal. Stop when it is stable at a level above your shavings and below the lip of the funnel.
- Push the metal down with the chopsticks to remove any air bubbles.
- Make sure the funnel is level in the jar and set aside somewhere safe OUT OF THE REACH OF CHILDREN AND PETS where it can harden safely.
Tower Busters
- Put metal into the muffin molds and level off.
- Push the crystals into the middle of the metal.
- Pour in the resin slowly. If you are making a few share it around and then come back to the first one for topping up.
- Put aside somewhere safe to set.
- Leave to set for a day and then gently tap out onto a surface. You may need to twist and deform the funnel to help the release. The tower busters should come out with a sharp tap or two.
End Notes:
Tower busters should be placed / hidden as near to the towers as possible.
Good luck and may the Force be with you.
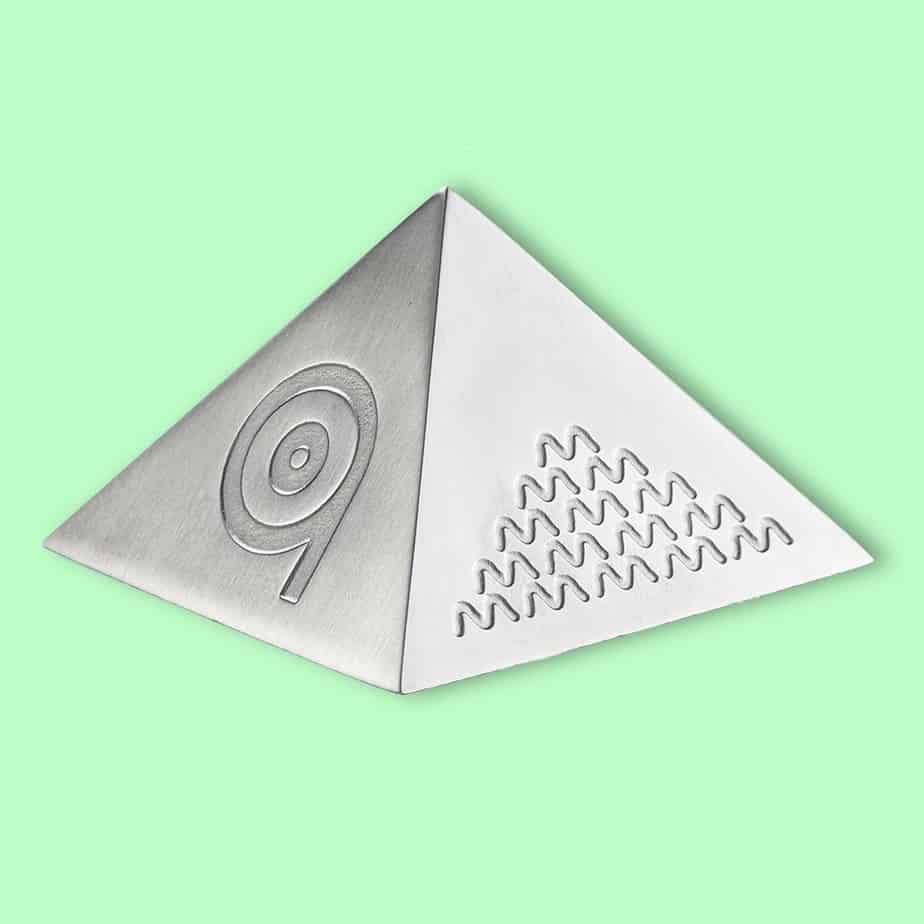
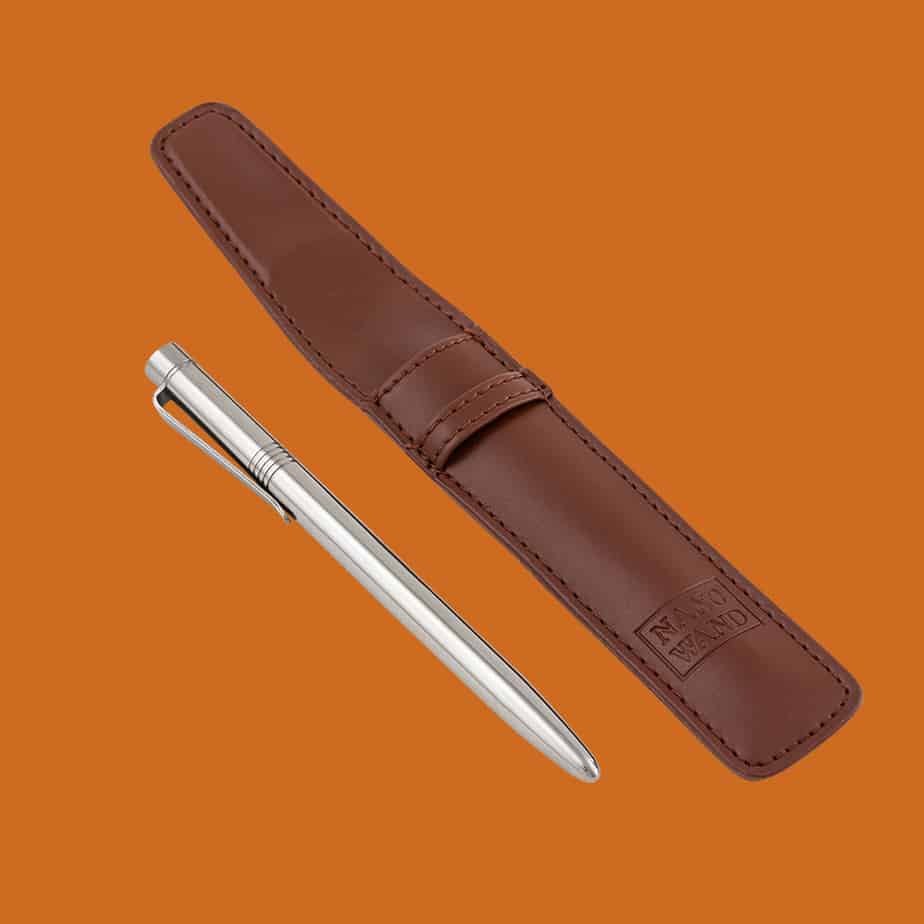
Our products are derived from Reich’s work but are not strictly orgonite.
Combining sacred geometry, custom coils and scalar-charged crystals we have been able to make some very strong devices. As a fellow orgone warrior, take 10% off any of our products by using the code “orgonite” in the discount code box (cannot be used in conjunction with any other special offers).
All Life Energy designs Ltd products are individually made, and are not factory produced, so each item is as unique as we are. Enjoy the care and joy that went into the production of each one.
Have a look at some of our products below and accept our gift of a 10% discount code (on any order) as a reward for finding this page: orgonite (apply at checkout)
Our guarantee
 We want you to rest assured that these devices are genuine, are high-quality, and work. To that end, we offer a money-back guarantee on all of our products. If for any reason you are unhappy with your purchase, we will refund your money (excluding any postage costs) providing you return the product within 30 days. It must be returned in its original condition, with all its packaging, and with proof of purchase.


